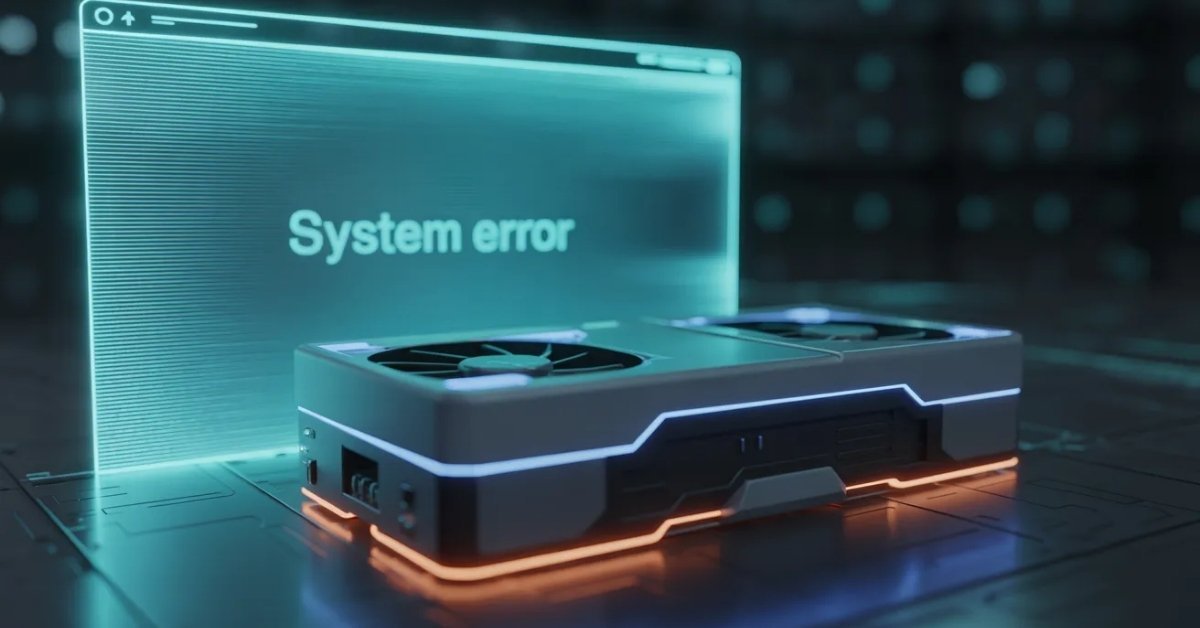
If you are a gamer or a 3D designer, encountering the DXGI ERROR DEVICE REMOVED crash can be incredibly frustrating. This error typically occurs when your graphics card (GPU) loses communication with the system, causing your game or application to crash instantly.
Whether you are using an NVIDIA, AMD, or Intel Arc GPU, this guide provides a comprehensive, step-by-step walkthrough to resolve this issue once and for all.
Quick Fix Summary: DXGI_ERROR_DEVICE_REMOVED
| Potential Fix | Estimated Success Rate | Time Required |
| DDU Clean Driver Install | 85% (High) | 15 Minutes |
| Registry Tweak (TdrDelay) | 70% (Medium) | 5 Minutes |
| Power Management Settings | 60% (Medium) | 2 Minutes |
| Disable Overlays & Underclocking | 50% (Low) | 5 Minutes |
10 Proven Ways to Fix DXGI ERROR DEVICE REMOVED on Windows 11/10
The “Device Removed” error is often caused by driver timeouts, power spikes, or unstable hardware clock speeds. Follow these technical solutions in order to stabilize your GPU performance.
1. Perform a Clean Driver Reinstall using DDU
Most users simply “Update” their drivers through GeForce Experience or Adrenalin software. However, leftover corrupted files from previous versions are a primary cause of the DXGI error.
- Download DDU: Get the Display Driver Uninstaller utility.
- Safe Mode: Boot Windows into Safe Mode.
- Clean and Restart: Run DDU, select your GPU type, and click “Clean and Restart.”
- Fresh Install: Once back in Windows, install the latest driver downloaded directly from the manufacturer’s website.
2. Modify the TdrDelay in Windows Registry
Windows has a feature called Timeout Detection and Recovery (TDR). If the GPU takes too long to process a frame, Windows thinks it has failed and “removes” it. Increasing this window gives your GPU more breathing room.
- Open Registry: Press Win + R, type regedit, and hit Enter.
- Navigate to: HKEY_LOCAL_MACHINE\SYSTEM\CurrentControlSet\Control\GraphicsDrivers
- Right-click on the right pane, select New > DWORD (32-bit) Value.
- Name it TdrDelay.
- Double-click it and set the value to 8 or 10 (Decimal).
- Restart your PC.
3. Set Power Management to “Maximum Performance”
Sometimes, Windows or your GPU driver tries to save power by lowering the voltage to the GPU during less intensive scenes. This sudden drop can trigger a crash.
- For NVIDIA: Open NVIDIA Control Panel > Manage 3D Settings > Power management mode > Set to Prefer maximum performance.
- For AMD: Open Radeon Software > Performance > Tuning > Set Power Limit to +5% or +10%.
4. Disable Hardware-Accelerated GPU Scheduling
While this Windows feature is designed to reduce latency, it is known to conflict with certain DirectX 12 titles, leading to the DXGI error.
- Path: Settings > System > Display > Graphics.
- Click on Change default graphics settings.
- Toggle Hardware-accelerated GPU scheduling to Off.
- Restart your computer.
5. Underclock Your GPU via MSI Afterburner
Many modern GPUs come “Factory Overclocked” (OC Edition). While they offer better performance, they can sometimes be unstable in specific DirectX 11/12 games.
- Download MSI Afterburner: Install the utility.
- Reduce Core Clock: Lower the Core Clock (MHz) by -50 or -100.
- Apply & Test: Click the “Check” icon to apply the settings.
- The Logic: This stabilizes the voltage and prevents the GPU from “crashing out” during high-load scenes.
6. Disable System and In-Game Overlays
Overlays are notorious for causing DXGI_ERROR_DEVICE_REMOVED because they inject code directly into the rendering pipeline.
- Discord: Go to User Settings > Game Overlay > Disable Enable In-Game Overlay.
- Steam: Settings > In-Game > Uncheck Enable Steam Overlay.
- GeForce Experience: Settings > General > Toggle In-Game Overlay to Off.
7. Reinstall Visual C++ Redistributables
Games rely on Microsoft Visual C++ libraries to communicate with your hardware. If these files are corrupted, the link between the game and your GPU breaks.
- Go to Control Panel > Programs and Features.
- Look for all Microsoft Visual C++ Redistributables (2015-2022).
- Right-click and select Repair, or download the latest “All-in-One” pack from the official Microsoft website.
8. Force DirectX 11 via Launch Options
If a game is crashing on DirectX 12, forcing it to run on the more stable DirectX 11 can resolve the “Device Removed” error.
- On Steam: Right-click the game > Properties > General.
- In Launch Options, type: -dx11 or -d3d11.
- Launch the game and check for stability.
9. Adjust Windows Power Plan
Windows “Balanced” power plan can sometimes cut power to the PCIe slot to save energy, leading to a disconnected device error.
- Open Control Panel > Power Options.
- Select High Performance or Ultimate Performance.
- Go to Advanced Power Settings via your Power Plan.
- Fix: Set PCI Express > Link State Power Management to Off.
10. Check for Hardware Degradation (PSU & Reseating)
If software fixes fail, the problem might be physical.
- Reseat the GPU: Turn off your PC, unplug the GPU, and plug it back into the PCIe slot firmly.
- Check the PSU: If your Power Supply Unit (PSU) is old or under-wattage, it may cause “Voltage Sag.” If your GPU doesn’t get enough power during a spike, Windows will report it as “Removed.”
- Temperature Check: Use HWMonitor to ensure your GPU isn’t hitting 85°C+, which triggers a safety disconnect.
Understanding the Root Cause (Why it Happens)

According to Microsoft’s documentation, DXGI ERROR DEVICE REMOVED is not a single error but a “Catch-All” status. It essentially means the graphics driver crashed and failed to restart in time.
By analyzing the Windows Event Viewer (Logs > Windows Logs > System), you can look for “Display” errors (Event ID 4101). If you see “Display driver nvlddmkm.sys stopped responding,” it confirms a driver-level timeout rather than a hardware failure.
Conclusion
The DXGI_ERROR_DEVICE_REMOVED crash is usually a software timeout rather than a hardware failure. Most users can fix this instantly by performing a clean driver install using DDU and increasing the TdrDelay in the Windows Registry. If the error persists, check your PSU power stability and ensure your GPU isn’t overheating under load.

FAQs
Ans: Perform a clean driver reinstall using DDU (Display Driver Uninstaller) and increase the TdrDelay value to 8 or 10 in the Windows Registry to prevent timeout crashes.
Ans: This indicates that the GPU has stopped responding to a specific command, usually due to unstable overclocking, driver conflicts, or high in-game graphics settings.
Ans: A DXGI (DirectX Graphics Infrastructure) error occurs when the communication link between a game engine and the graphics driver is broken, forcing the application to close.
Ans: In technical terms, a DXGI device is your Graphics Processing Unit (GPU), which DirectX uses to handle frame rendering and display output on your monitor.
Ans: The most common reasons include GPU overheating, insufficient power from the PSU, or a driver crash that causes Windows to “detach” the hardware for safety.
Ans: This error occurs when the GPU hardware configuration changes mid-process or when the driver fails to recover after a crash, requiring a full system or application reset.
Tech Troubleshooting Expert and Lead Editor at TechCrashFix.com. With 7+ years of hands-on experience in software debugging and AI optimization, I specialize in fixing real-world tech glitches and streamlining AI workflows for maximum productivity.