

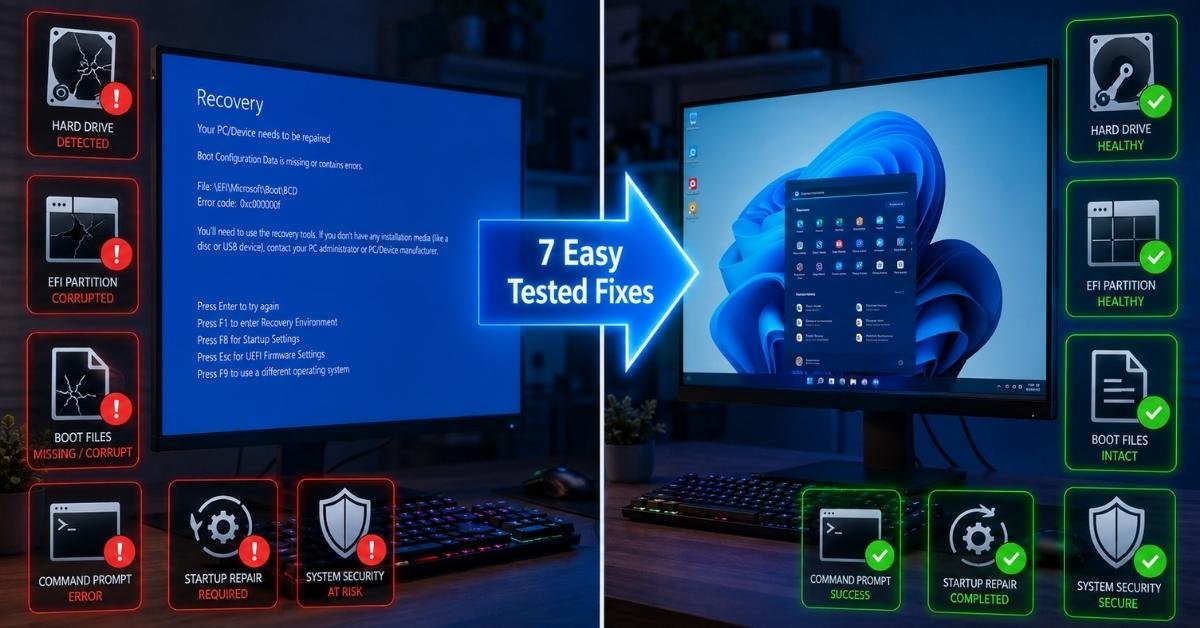
You turned on your computer. But instead of loading Windows, you saw a scary blue screen. It says something like:
“Your PC needs to be repaired. Boot Configuration Data is missing or has errors.”
You tried restarting. Same screen. You tried again. Still there.
Don’t panic. Your files are NOT gone. Your computer is NOT broken forever. This is actually a very common Windows 11 problem and it’s fixable. I’ve fixed this exact error many times on many different computers. In this guide, I’ll show you exactly how to fix the BCD error Windows 11 step by step, in plain simple English.
What Is a BCD Error? (Simple Explanation)
Think of your computer like a house. Windows is the family living inside. The BCD file is the front door key.
When the BCD file gets broken or goes missing, Windows can’t get inside the house. So it just sits outside and shows you that blue error screen.
Your stuff is still inside the house. The key is just broken. We’re going to make a new key.
BCD stands for Boot Configuration Data. It’s a small file that tells your computer where Windows is and how to start it. When it breaks, Windows can’t start. Simple as that.
Why Did This Happen to You?

Good question. Here are the most common reasons:
Windows Update got interrupted This is the #1 cause. Your PC was updating and someone pulled the plug or the battery died. The update didn’t finish and the boot file got broken halfway.
The power went out suddenly. Same idea. The computer was writing something important and the power cut off at the worst time.
The hard drive has a bad spot. Sometimes a tiny part of the hard drive stops working. If the BCD file was sitting on that bad spot, it’s now unreadable.
You accidentally deleted a small partition If you recently played with your disk space or partitions, you might have deleted a tiny 100 MB area that Windows needs. That area holds the BCD.
Virus or malware Some nasty viruses attack the boot area on purpose to stop Windows from loading.
What You Need Before Starting
For most of these fixes, you need one thing:
✅ A Windows 11 USB drive (at least 8 GB)
If you don’t have one, use another computer to make one for free using Microsoft’s official Media Creation Tool. Just Google “Windows 11 Media Creation Tool” and download it from Microsoft’s website.
Some fixes don’t need a USB at all, we’ll start with those first.
7 Easy Fixes Start From #1 and Work Your Way Down
Fix 1: The Power Trick (No USB Needed Try This First)
This is the easiest fix. No USB, no typing. Just your power button.
- Turn your computer ON
- The moment you see your computer brand’s logo (like Dell, HP, Lenovo), hold the power button until the computer turns OFF
- Do this 3 times in a row
- On the 4th time, Windows will say “Preparing Automatic Repair”
- Click Advanced Options
- Click Startup Repair
- Let it do its thing and restart
That’s it! This works about 30% of the time. If it says “couldn’t fix your PC,” no worries move to Fix 2.
Fix 2: The Bootrec Method (Works on Most Computers)
This is the most popular fix for BCD errors. You’ll be typing some commands but don’t worry, I’ll show you exactly what to type.
- Plug in your Windows 11 USB and turn on your computer
- Press F12 (or F2, ESC, or DEL depends on your computer brand) to choose to boot from USB
- When Windows setup appears, click Repair your computer (bottom left don’t click Install!)
- Click Troubleshoot
- Click Advanced Options
- Click Command Prompt (the black box)
- Type each of these lines and press Enter after each one:
bootrec /fixmbr
bootrec /fixboot
and bootrec /scanos
bootrec /rebuildbcd
- If it asks “Add installation to boot list? Yes/No/All” type Y and press Enter
- Type exit and press Enter
- Remove the USB and restart your computer
What are these commands doing? Think of them like a repair crew. The first one fixes the door frame. The second fixes the door. The third one finds your Windows. The fourth one rebuilds the broken key. Together they fix the whole thing.
Fix 3: The BCDboot Method (Best for Modern Computers)
If Fix 2 showed you “Total identified Windows installations: 0” that’s actually normal for newer computers. Modern Windows 11 PCs use a different system called UEFI. The bootrec commands don’t always work on UEFI. Use this fix instead.
- Get into Command Prompt the same way as Fix 2 (boot from USB → Repair → Troubleshoot → Advanced Options → Command Prompt)
- Type these one by one and press Enter after each:
diskpart
list disk
select disk 0
list volume
- Look at the list. Find a small partition (around 100–500 MB) that is FAT32 that’s your EFI partition. Remember its number.
- Type (replace X with the number you found):
select volume X
assign letter=F
exit
- Now type this final command:
bcdboot C:\Windows /s F: /f UEFI
- You should see: “Boot files successfully created”
- Type exit, remove USB, restart
Done! This fix works on most modern Windows 11 laptops and desktops.
Fix 4: Delete the Old BCD and Make a New One
Sometimes the BCD file is so messed up that you can’t repair it, you just need to throw it away and make a fresh one. Don’t worry, this doesn’t delete your personal files. It only removes the broken key and makes a new one.
- Open Command Prompt (same steps as above)
- Type these commands one by one:
bcdedit /export C:\bcdbackup
attrib c:\boot\bcd -s -h -r
ren c:\boot\bcd bcd.bak
bootrec /rebuildbcd
- Type Y if asked, then exit, then restart
Here’s what happened: the first command saved a backup of the broken file (just in case). The second unlocked it. The third renamed it (like moving it to the trash). The fourth built a clean new one.
Fix 5: Startup Repair (The Click-Click Method)
If typing commands feels too scary, this one is all clicks:
- Boot from USB → Repair your computer
- Troubleshoot → Advanced Options → Startup Repair
- Click your Windows 11 account if asked
- Wait (this can take 10–20 minutes, don’t touch anything)
- Restart when it finishes
Simple. No typing. Works about half the time.
Fix 6: Go Back in Time With System Restore
If your computer was working fine before and then this happened, you can roll Windows back to a time when it worked. Like a save point in a video game.
- Boot from USB → Repair your computer
- Troubleshoot → Advanced Options → System Restore
- Pick a date from before the problem started (look for a date when things were fine)
- Click Next and follow the steps
- Restart
Your personal files (photos, documents, videos) stay safe. Windows just goes back to how it was before.
Fix 7: Fresh Start (Last Option)
If none of the above worked, it’s time to reinstall Windows. This sounds scary but it’s actually pretty easy and you can keep your files.
- Boot from USB → click Install Now
- When asked, choose “Keep my files” this keeps your documents and photos safe
- Let Windows reinstall itself
- After it’s done, Windows will work fine with a brand new BCD
Your personal files stay. Your installed apps will be gone, but you can reinstall those.
Quick Comparison Table Which Fix Should You Try?
| Fix | How Hard? | Need USB? | How Often It Works | Best For |
| Fix 1: Power Trick | Super Easy | ❌ No | 30% | Update errors |
| Fix 2: Bootrec | Medium | ✅ Yes | 65% | Older computers |
| Fix 3: BCDboot | Medium | ✅ Yes | 75% | Modern Windows 11 PCs |
| Fix 4: Delete + Rebuild | A Bit Harder | ✅ Yes | 80% | Really broken BCD |
| Fix 5: Startup Repair | Super Easy | ✅ Yes | 45% | Beginners |
| Fix 6: System Restore | Super Easy | ✅ Yes | 55% | Recent problems |
| Fix 7: Reinstall Windows | Easy | ✅ Yes | 100% | When nothing else works |
FAQ
Will I lose my files if I fix the BCD error?
No! Fixing the BCD only repairs the boot file and the key to the house. It doesn’t touch anything inside the house. Your photos, videos, documents are all safe. The only time you might worry is if you do a full reinstall, and even then, choosing “Keep my files” protects everything.
Why did bootrec show “0 Windows installations found”?
This is actually super common on Windows 11 computers. It just means your PC uses the newer UEFI system, and bootrec doesn’t work well with it. Skip to Fix 3 (BCDboot) that is built exactly for this situation.
What are the most common BCD error codes?
You might see codes like 0xc0000098, 0xc000000f, 0xc0000034, or 0xc000014c on your blue screen. They all mean the same basic thing the BCD file is broken or missing. The fix steps are the same for all of them.
What if the BCD error keeps coming back?
If you fix it and it breaks again in a few days, your hard drive might be dying. A failing hard drive keeps creating new bad spots, including on the BCD file. After you get back into Windows, open Command Prompt and type chkdsk C: /f /r to scan for drive problems. If the drive is bad, back up your files and replace it as soon as possible.
Wrapping Up
The BCD error sounds super technical and scary but it really is just a broken start-up file. Nothing more. Your computer isn’t dead. Your files aren’t gone. You just need to rebuild that one file and Windows will load perfectly again.
Start with Fix 1 (the power trick) since it needs no USB and takes 2 minutes. If that doesn’t work, grab a USB drive and work through Fix 2 and Fix 3 those two solve the BCD error for the vast majority of Windows 11 users. If you’re on a modern laptop or desktop made in the last few years, Fix 3 (BCDboot) is probably going to be your winner.
Got stuck or saw a specific error code on your screen? Drop it in the comments and I’ll help you figure out what’s going on.
Disclaimer: This article is for educational purposes only. Always back up your important files before doing any system repairs. TechCrashFix.com is not responsible for any data loss during the troubleshooting process.